Quick Navigation
Imperial Specifications
Cap Removal
Cap & Rubber Seal Repair
Master Fluid Repair
Leg Repair
Imperials are one of the rarest vintage Lava Lite lamps one can own. Preserving them is a matter of preserving Lava Lite history. That is why I’ve extensively documented everything I can about my Imperial for those who need this information. Repairing an Imperial is a daunting process, but it can be done. I have documented the repairs I’ve made as well as repairs others have had to make. I am also including all specifications of the Imperial itself in case someone needs to replace parts of the lamp or wants to make replicas.
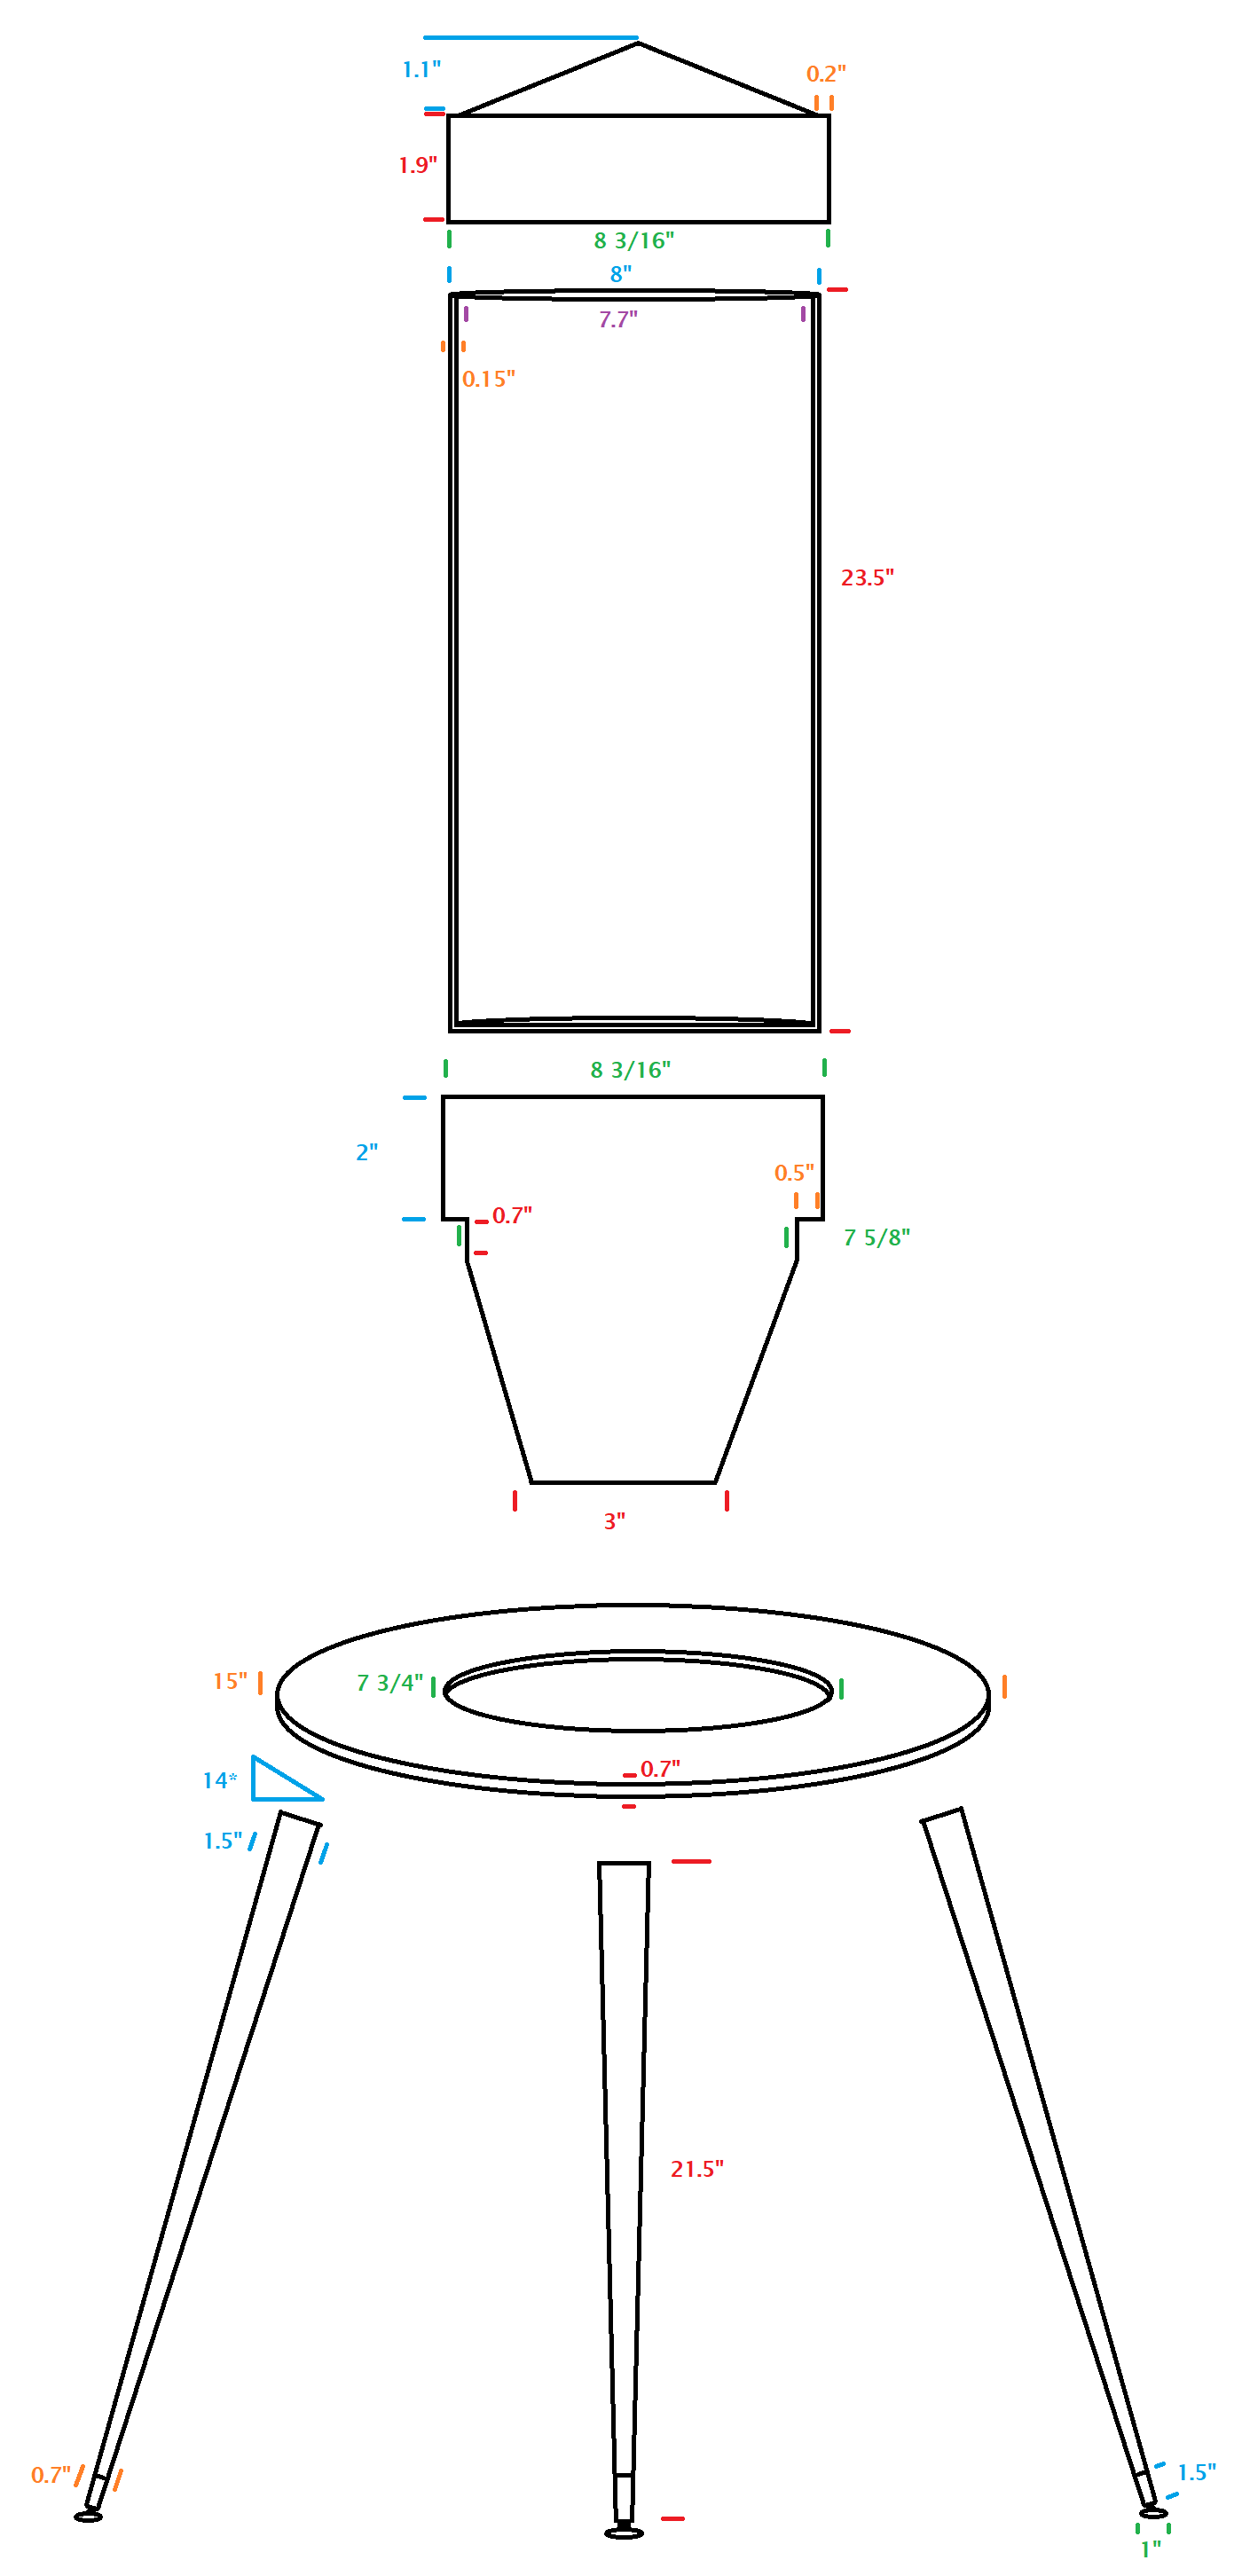
Imperial Specifications
Master Fluid
Density: 1.03 kg/m³ @ 22C (Compare to water at 0.99 kg/m³ @ 22C)
Globe
8″ Diamater
0.15″ thick
23.5″ tall
It may be possible to source replacement globes from some scientific glass manufacturers. https://www.greatglas.com/PyrexCylinders.htm
https://adamschittenden.com/
Approximate volume 18 liters.
Cap
8″ 3/16 inner diameter
.1″ thickness
1.9″ Bottom flat section
1.1″Taper height
0.2″ ridge around top of the edge
Legs
21/5″ long Walnut
https://www.capitolcitylumber.com/product/round-taper-legs-2-pack/
Mounted with 14 degree angled leg mounting plates
Table
15″ outer diameter with 7 3/4″ diameter hole for globe. Made from particle board with a walnut laminate top.
Base
8 3/16″ globe holding section
0.5″ indentation to rest on wood plate
Tapers to 3″
Cap Removal
Removing the cap has been documented by some members of OozingGoo. They used heated water running across the cap to loosen up the seal. This may or may not be an option if your lamp has a pinhole in the cap.
http://oozinggoo.ning.com/forum/topics/if-you-have-a-imperial-i-have


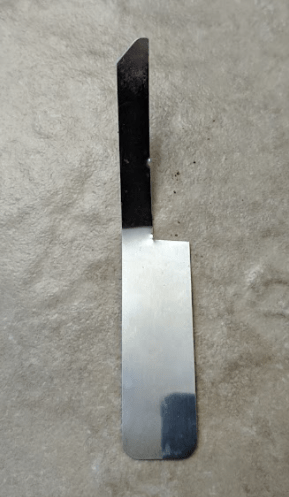
Another option is the one I used which was to take a flexible thin metal spudger and cut it down to make it easier to fit into the gap between the cap and the glass. I also bent it slightly to make it easier to use and to give me a visual indication to know when I had inserted it as far into the cap as I wanted to. I used this to cut away at the tape holding the cap on. Then I heated the cap with a hair dryer on one side which allowed it to begin to lift off the globe. I was able to pull the cap up slowly. Removing the cap causes suction so it has to be done slowly.
Cap & Rubber Seal Repair
Rubber Seal
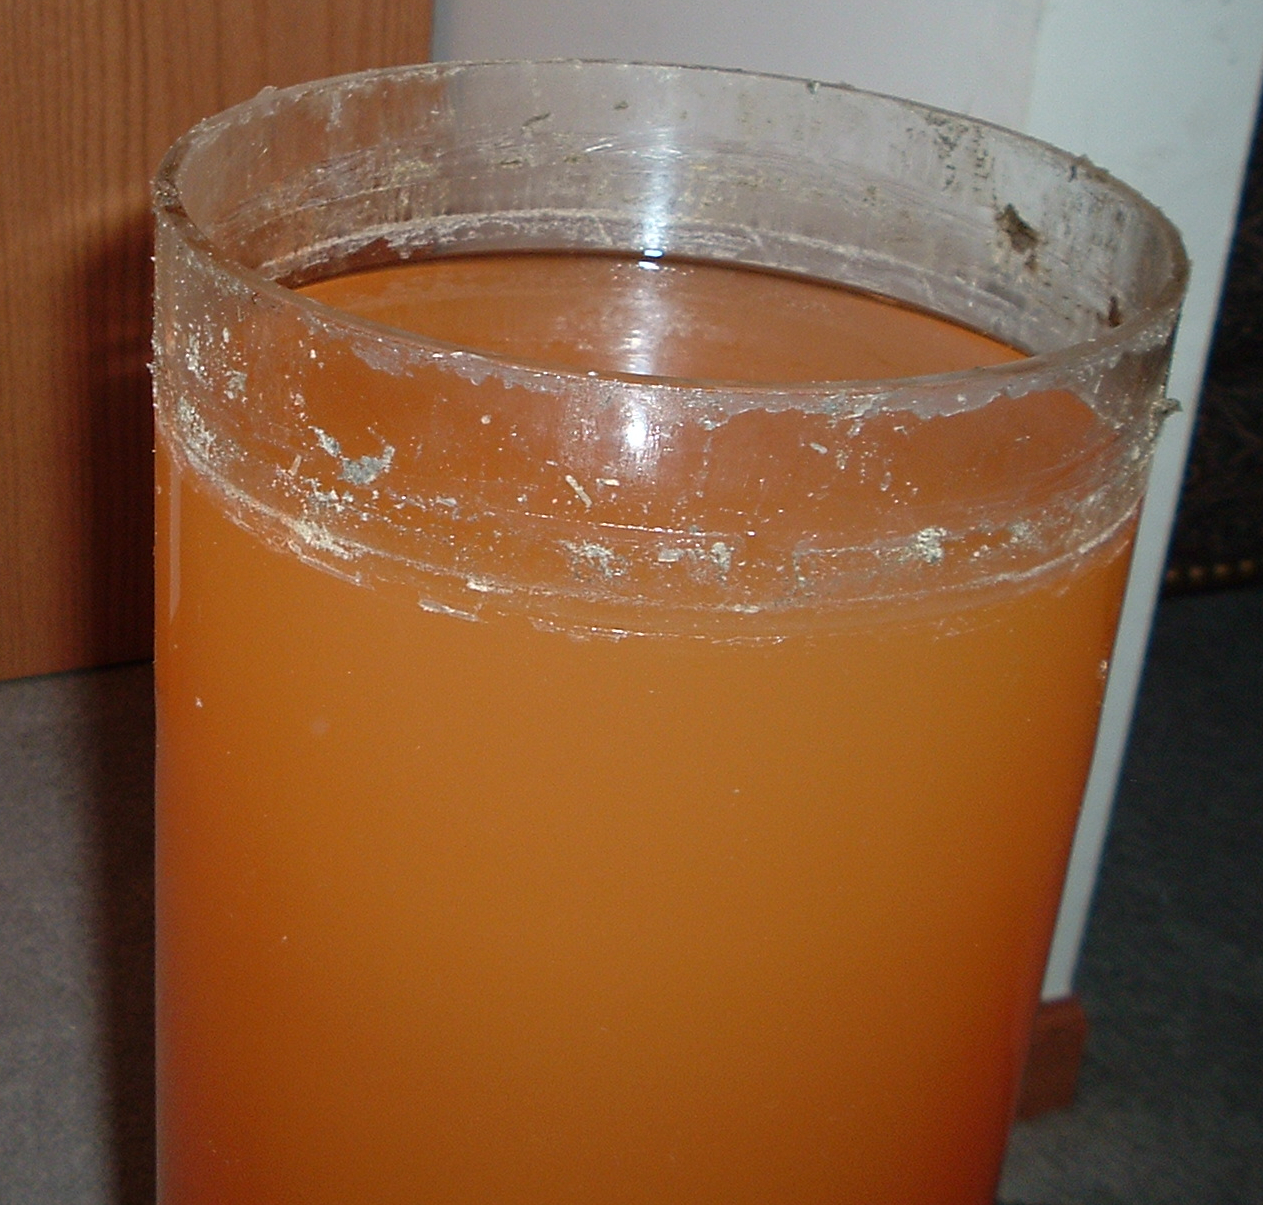
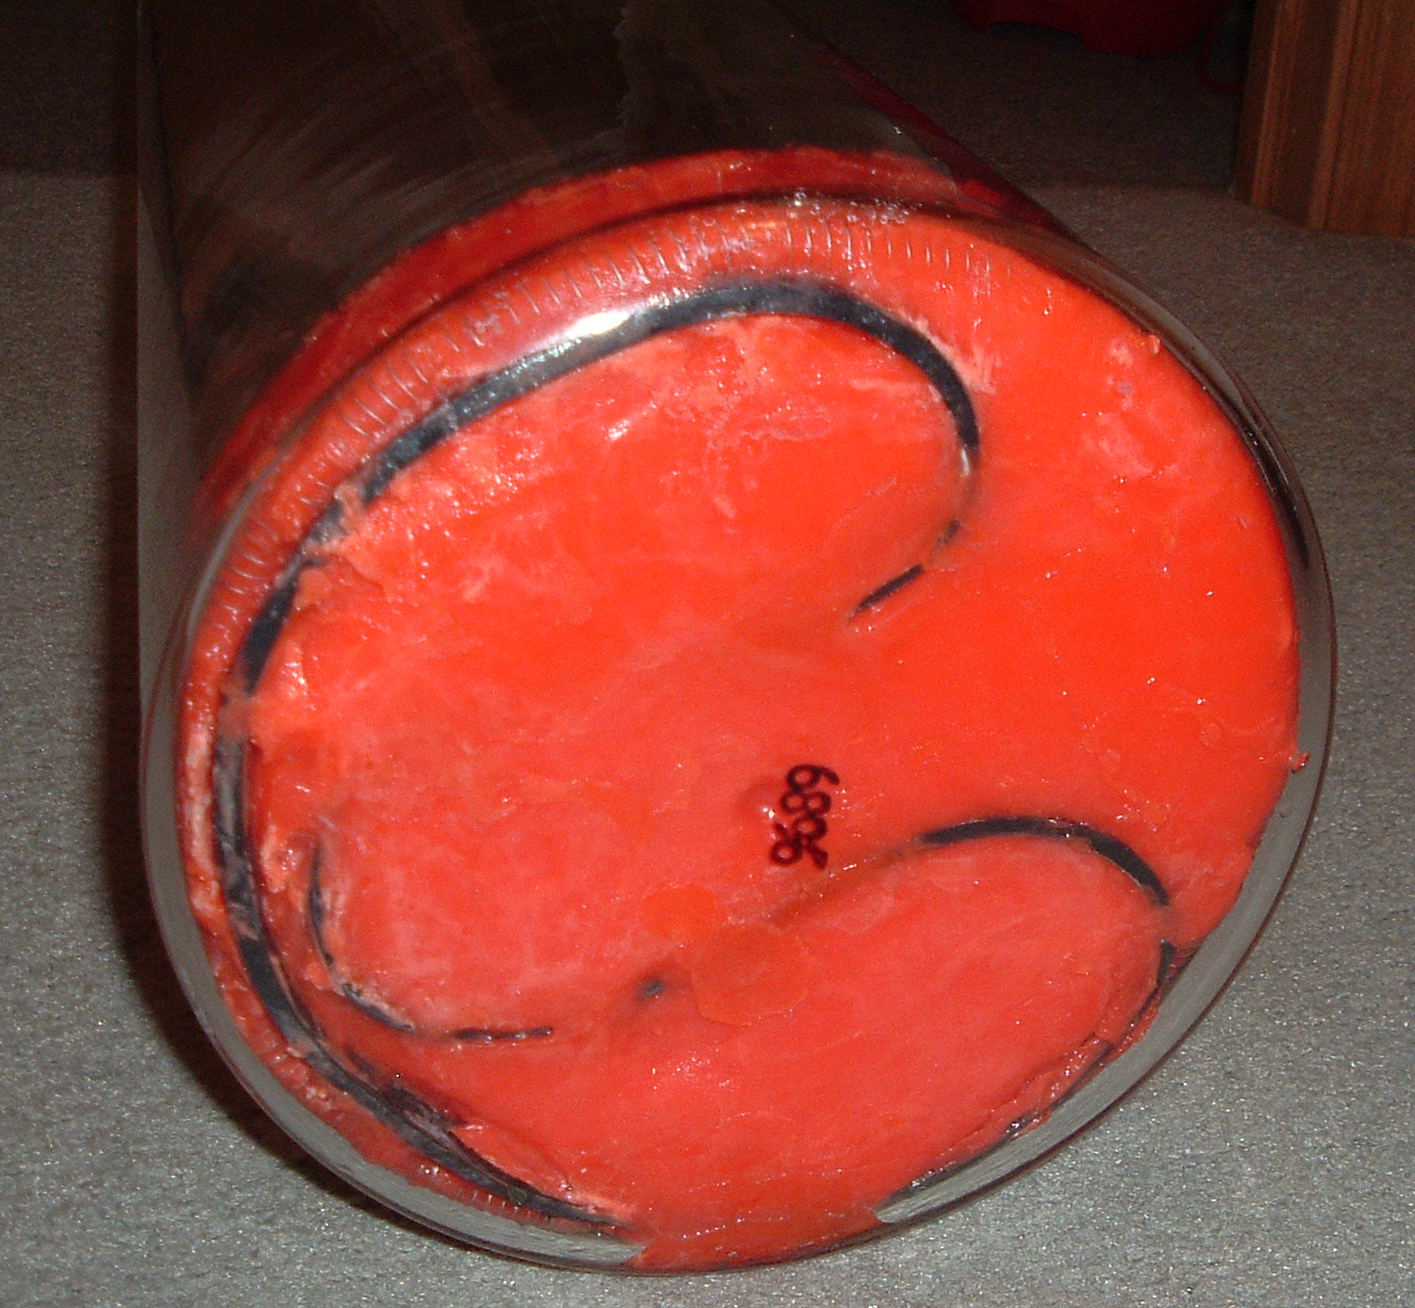
The rubber seal in the Imperial is a 3mm x 6mm x 200(OD) mm flat o-ring. The o-ring is held in place using silicone adhesive. Over time these expand and can fall into the globe if they manage to dislodge themselves.
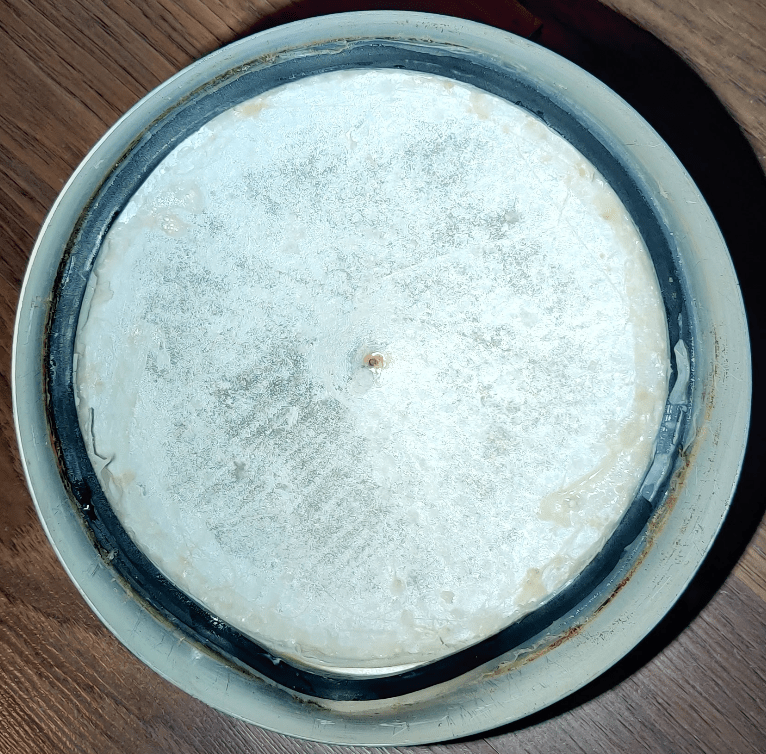
To fix the seal you can either buy a new o-ring or cut the existing one to size and glue it back in. I used E6000 because it adheres to surfaces better and is intended as a flexible adhesive and not just a sealant like most silicones. It is also removable in case I need to work on the seal again.
Note where I cut the o-ring in the photo below.

Make sure the o-ring is flat and not twisted otherwise it will impact the seal it gets on the globe. This can be tricky because the o-ring may have a tendency to want to twist.

Once the o-ring has been glued in a thin layer of E6000 can be applied to the top of the o-ring. It can be placed on the globe and with some weight applied to the top it will seal the lamp again.
Vent hole
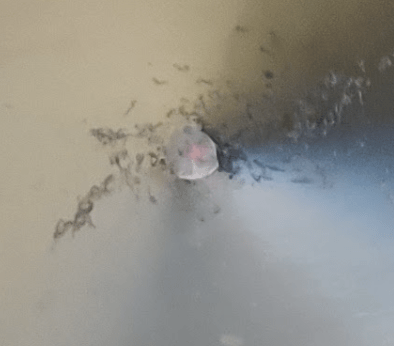
The vent hole may or may not be necessary because not all Imperials have one. If your Imperial has one though it is recommended to cover it with a small piece of medical tape. Medical tape is breathable so air exchange can still happen, but it will slow down evaporation and prevent foreign objects from entering your lamp. A small round piece is enough to cover the hole and it is slightly transparent so it is mostly unnoticeable. My Imperial has a few small hornet looking bugs inside the wax that entered through this hole before I purchased it.
2023 Update
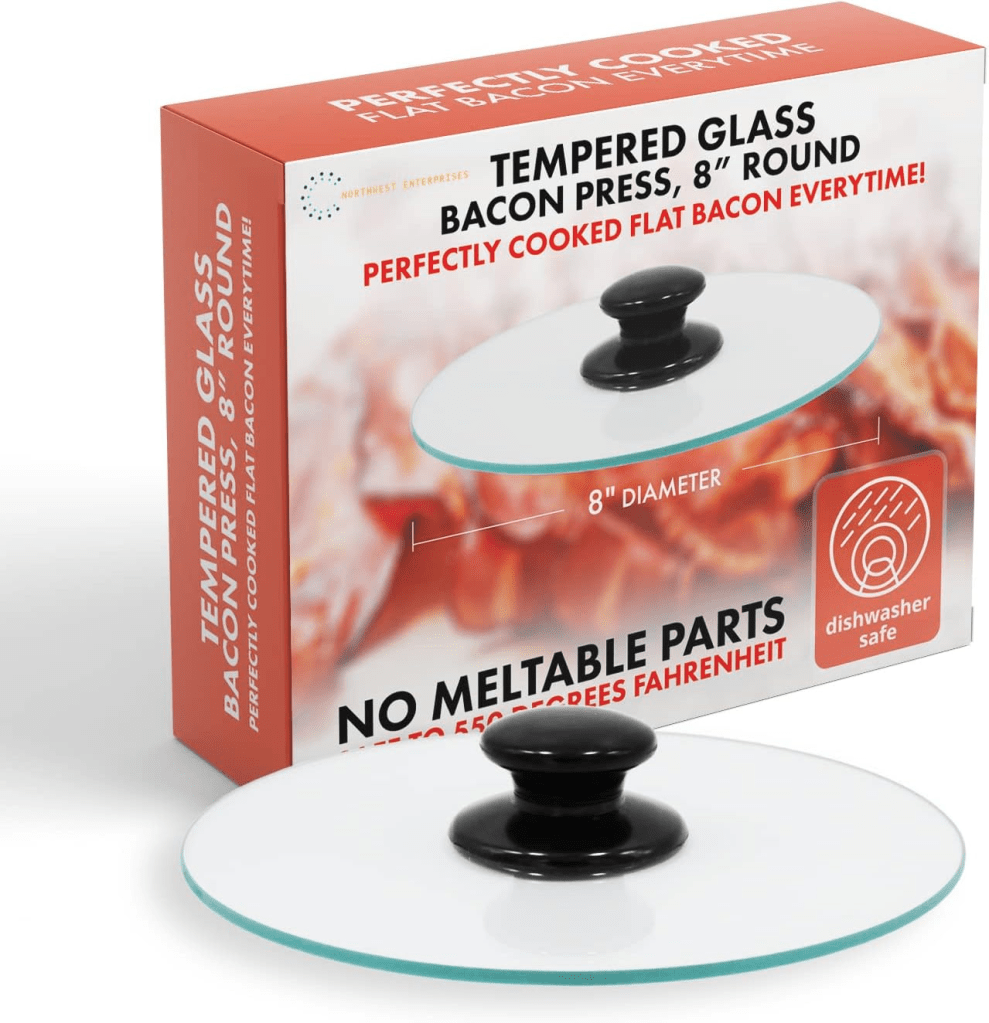
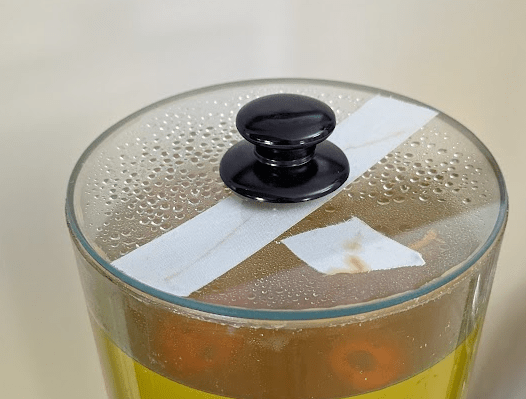
Originally I thought restoring the original seal would be fine, but I noticed a smell from the lava lamp when it was running. It was also leaking down the side of the glass. I didn’t want to glue the original cap back on so I tried making a cap out of acrylic, but that cracked after a while. Eventually I found a round piece of tempered glass that fit perfectly and it had a vent hole in the middle. I glued it on with silicone and covered the hole with the same athletic tape as earlier so it can breath without letting fluid out.

Corrosion
My Imperial cap had corroded to the point where light was visible from the top of the cap when shining light from underneath the cap. To stop further corrosion which was likely caused by the master fluid I applied a thin coat of E6000 to the inside of the cap. I used a credit card to smooth the E6000 and give it an even layer across the inside top portion of the cap.
O-Ring fell into wax
If the ring fell into the wax you can either remove the wax and retrieve the ring or use a metal coat hangar to pull the ring out when the wax is melted.


Master Fluid Repair
Caution must be taken when filtering an Imperial with a ceramic filter. The surfactants can be filtered out if one is used causing the wax to stick to the glass. A replacement surfactant like sodium laureth sulfate needs to be added to the master fluid before filtering. It is also recommended to leave a small amount of fluid in the lamp to ensure the wax never touches the glass when dry because it will stick to the glass.
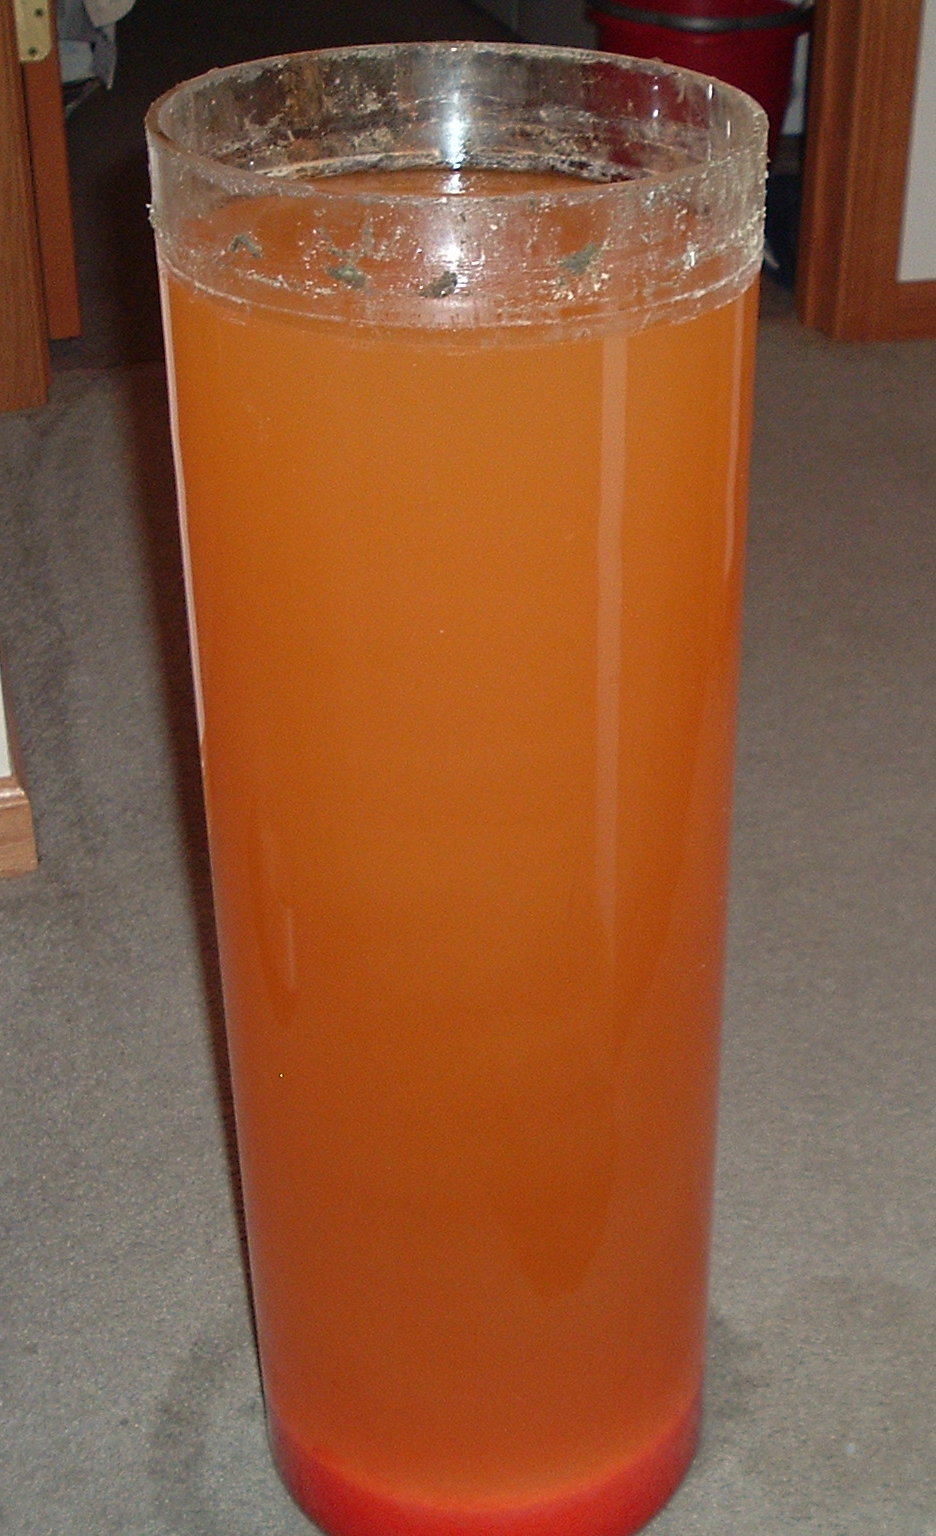
If the master fluid has particles visible floating in the fluid this can be fixed. I’m not a chemist, but from what I understand what is happening. Surfactants form “Micelles” which are groups of surfactant molecules that are surrounding an oil molecule. These can be broken into smaller micelles with the introduction of more surfactants that will act like a solvent to form a clear homogeneous solution. This will remove the floating particles.

If the master fluid is clear when cold, but clouds up when heated this can be fixed. Again not a chemist, but to attempt to explain what is going on is surfactants have a property known as their “Cloud Point”. This is the temperature at which the surfactant separates from the water and becomes visible to the human eye or in the lava lamp world the lamp becomes “cloudy”. There are things known as “Cloud Point Modifiers” which raise or lower the cloud point of a liquid. There are a few cloud point modifiers I am aware of that raise the cloud point that I had on hand. Polyethylene Glycol (PEG 300), Propylene Glycol (PG), and Sodium Laureth Sulfate (SLES). These will likely work for you.
I was able to completely clear my Imperial by adding SLES and PEG 300. I used these because I needed to break apart the micelles and PEG 300 because it seems to work more effectively as a cloud point modifier. Make sure to be aware of the density of these chemicals otherwise you may throw your lamp out of balance. Also it is important to not directly add these chemicals in at 100% concentrated otherwise it will react with the wax and cause clouding. I mix it to a 25% dilution using master fluid I removed from the lamp. Also note that these will form a gel if mixed cold so use warm master fluid.
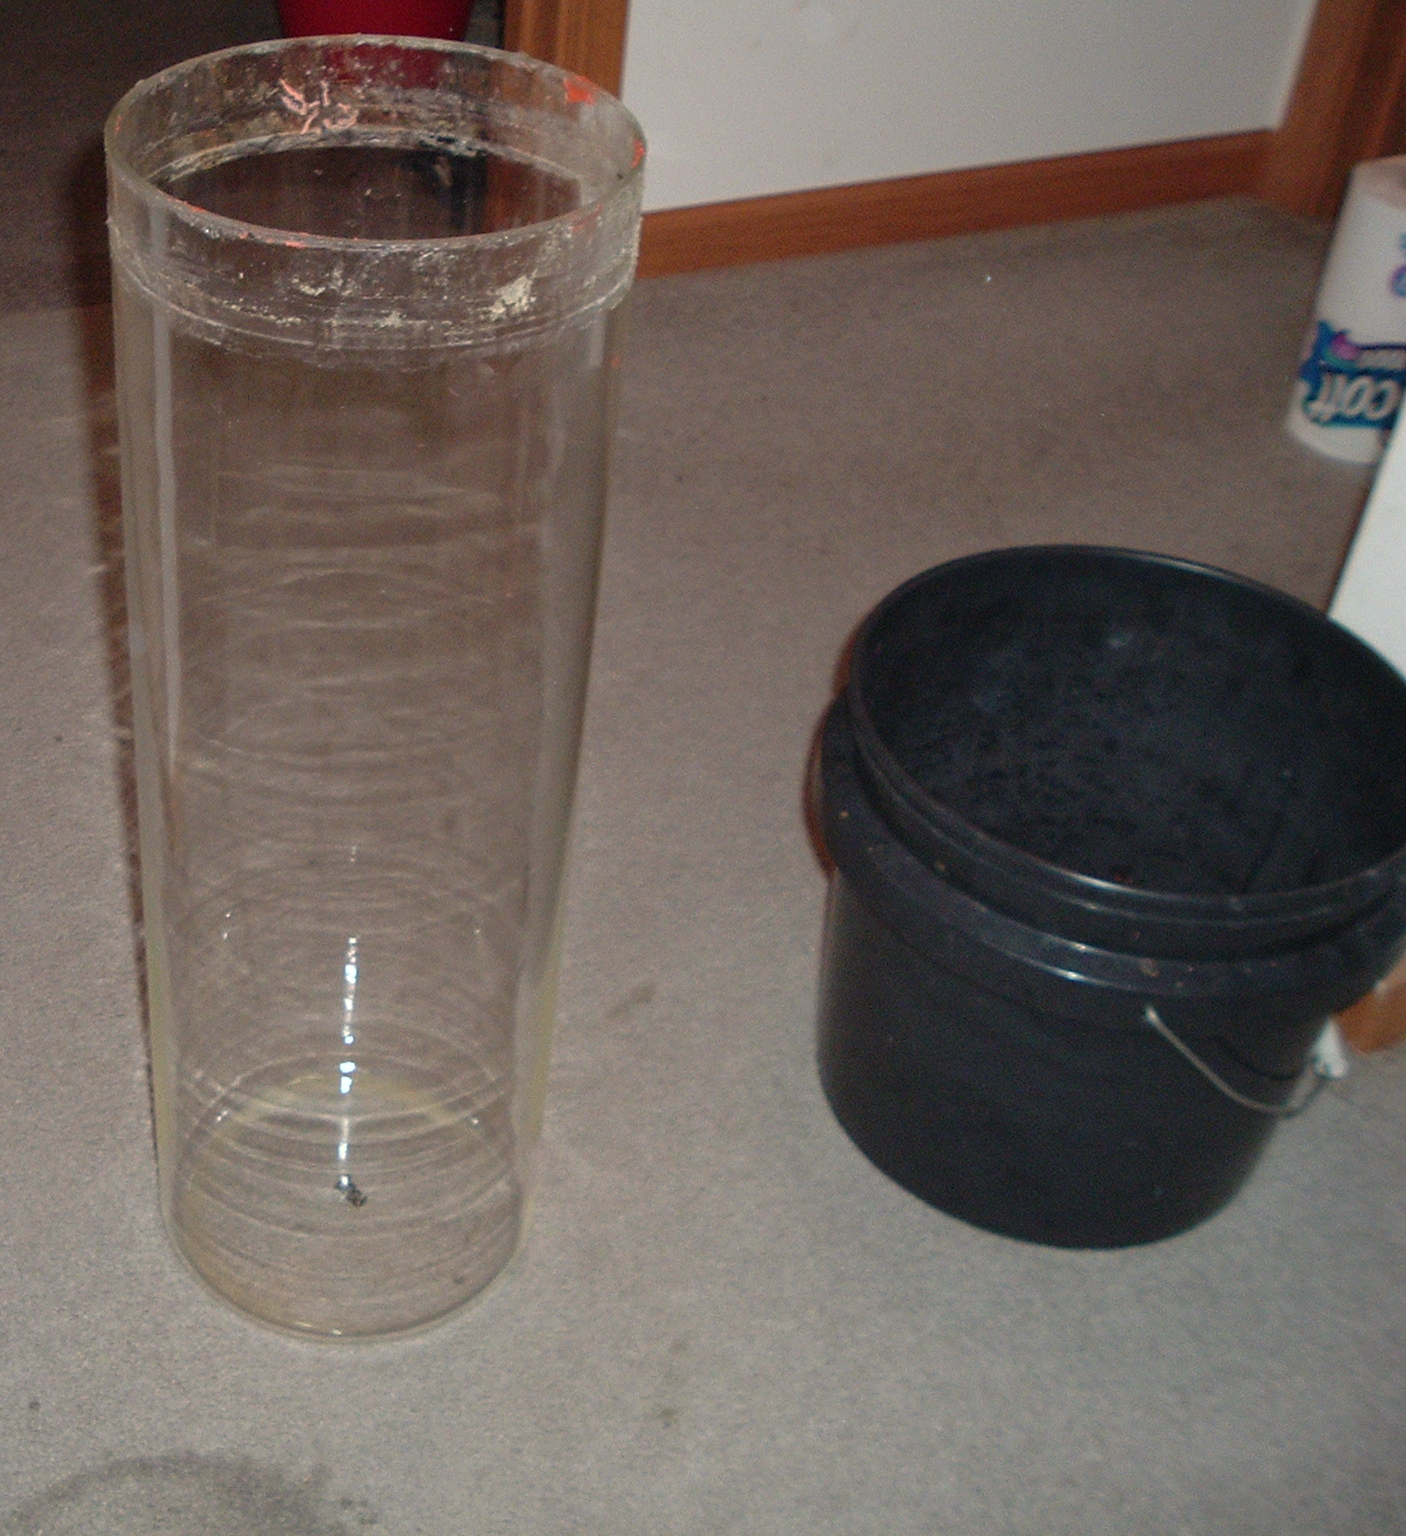
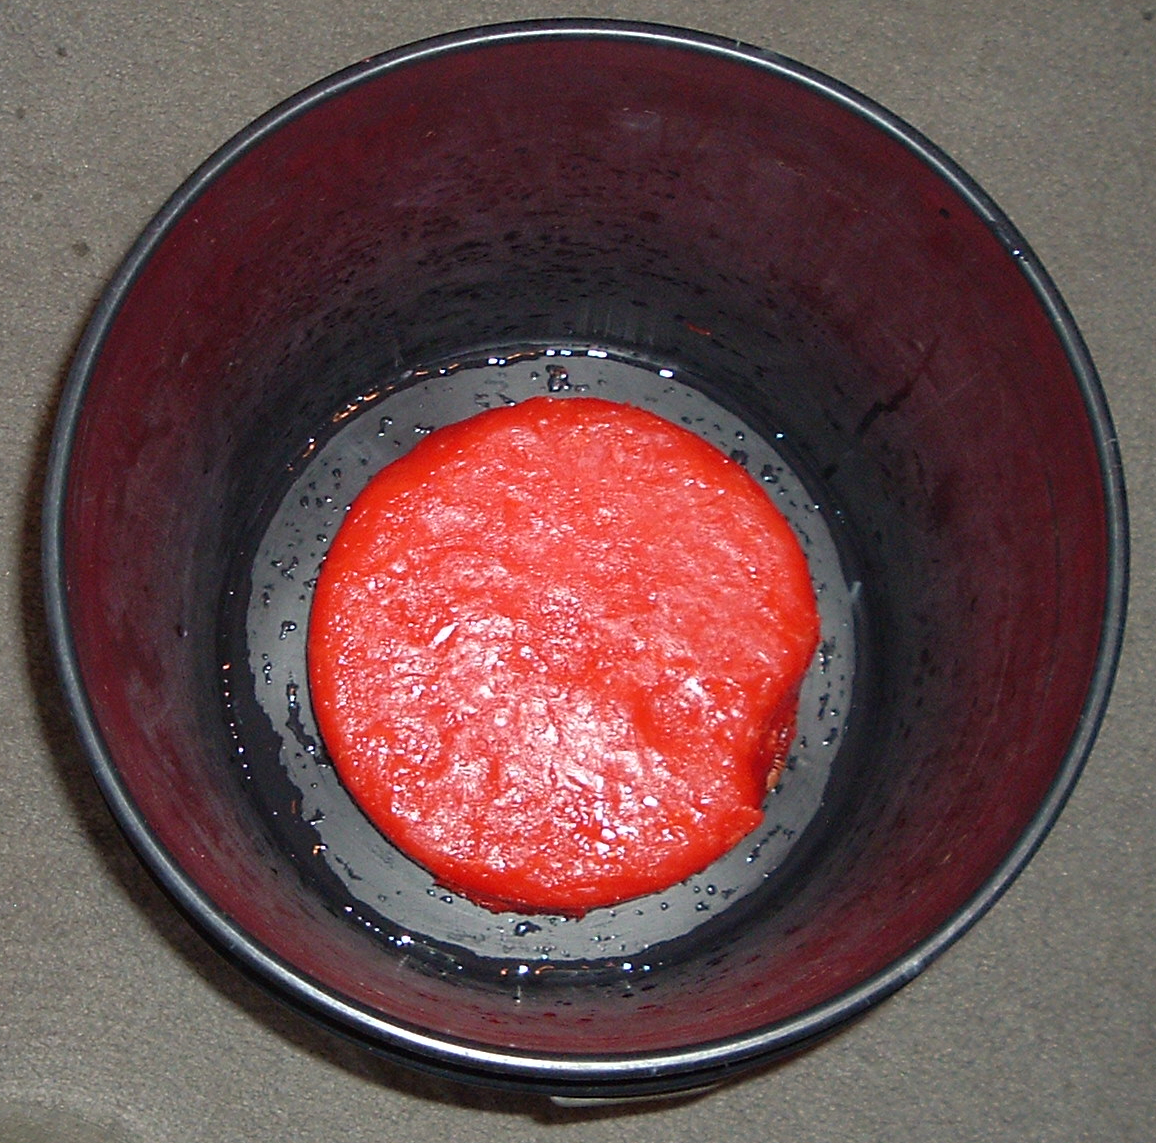
I used 60ml of SLES and 40ml of PEG 300. You can see the before and after below. Cycling it on and off for months didn’t make any difference, but after adding SLES and PEG 300 it only took a few days to clear. Afterwards I noticed the lamp became less and less active. All of the particulate seems to have absorbed into the wax making it less dense. I had to add another 290ml of PEG 300 to make it active again. This changed the density of the master fluid from 1.053 to 1.054. After a while the master formula began to cloud up while cold. A filtering with a 0.2 micron ceramic filter cleaned that up.
Doing some math and making some assumptions that means an approximate master fluid formula for an Imperial would require about 2 gallons of PEG 300.


2023 Update
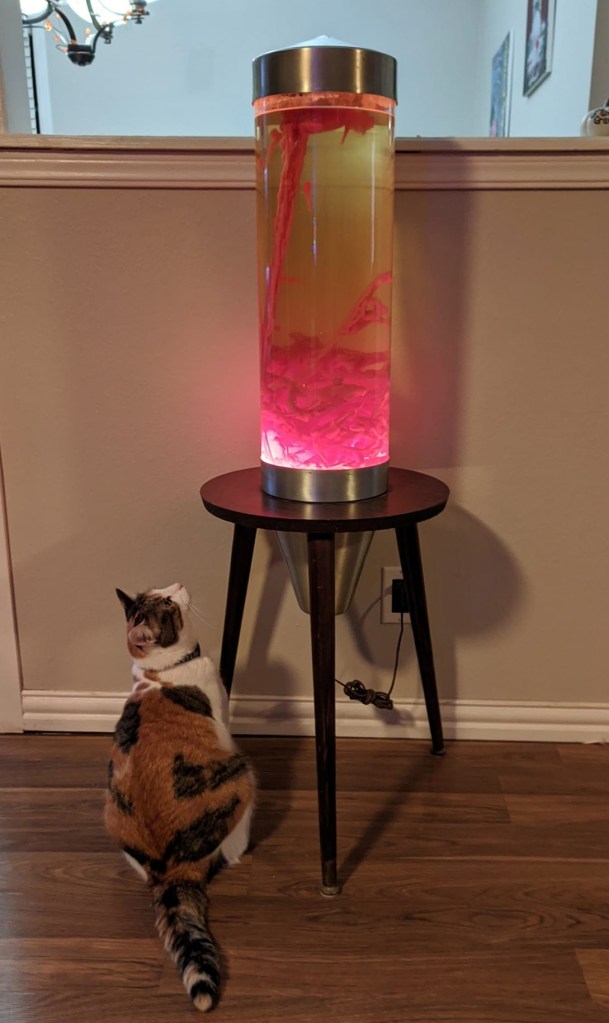
The earlier repairs held for a couple of years and I was able to get many runs on the original formula before it finally stopped flowing. I removed the contents of the Imperial and stored it in separate containers and refilled it with 14 Mathmos Astro bottles. I chose Mathmos formula because it is most similar to the original formula that came in the Imperial.

The results speak for themselves. Interestingly it retained the flow pattern of sending up large flows and then settling at the bottom for about 30 seconds at a time. I thought this was partially due to the age of the formula, but for it to continue doing this suggests that this was how it always flowed. Maybe this is why Mathmos didn’t use the same globe proportions for their modern Saturn?

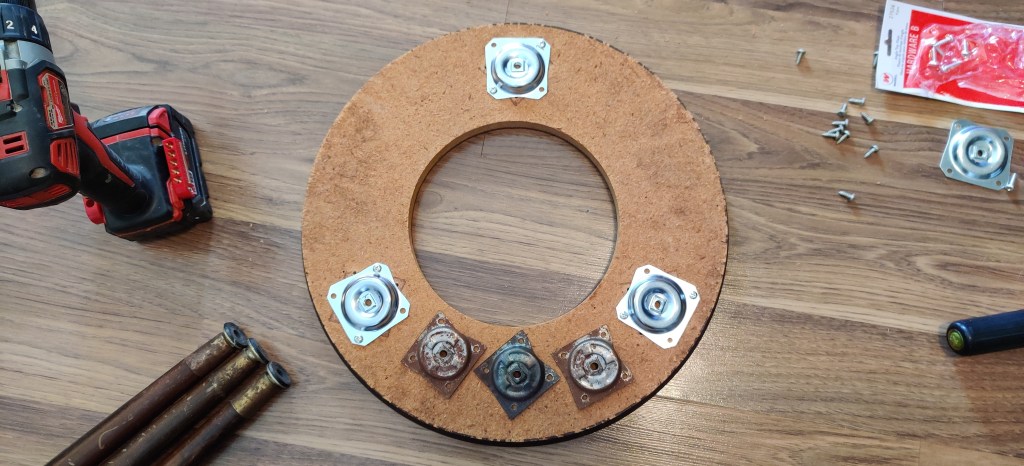
Leg Repair
If the legs on the Imperial are wobbly and cannot be steadied with tightening the mounting plates can be repaired. The mounting plates are still commonly sold in hardware stores and online as “14 degree angled leg mounting plates”. They often come with extra screws, anchors, and threaded rods. Only the mounting plates themselves and the screws are needed.
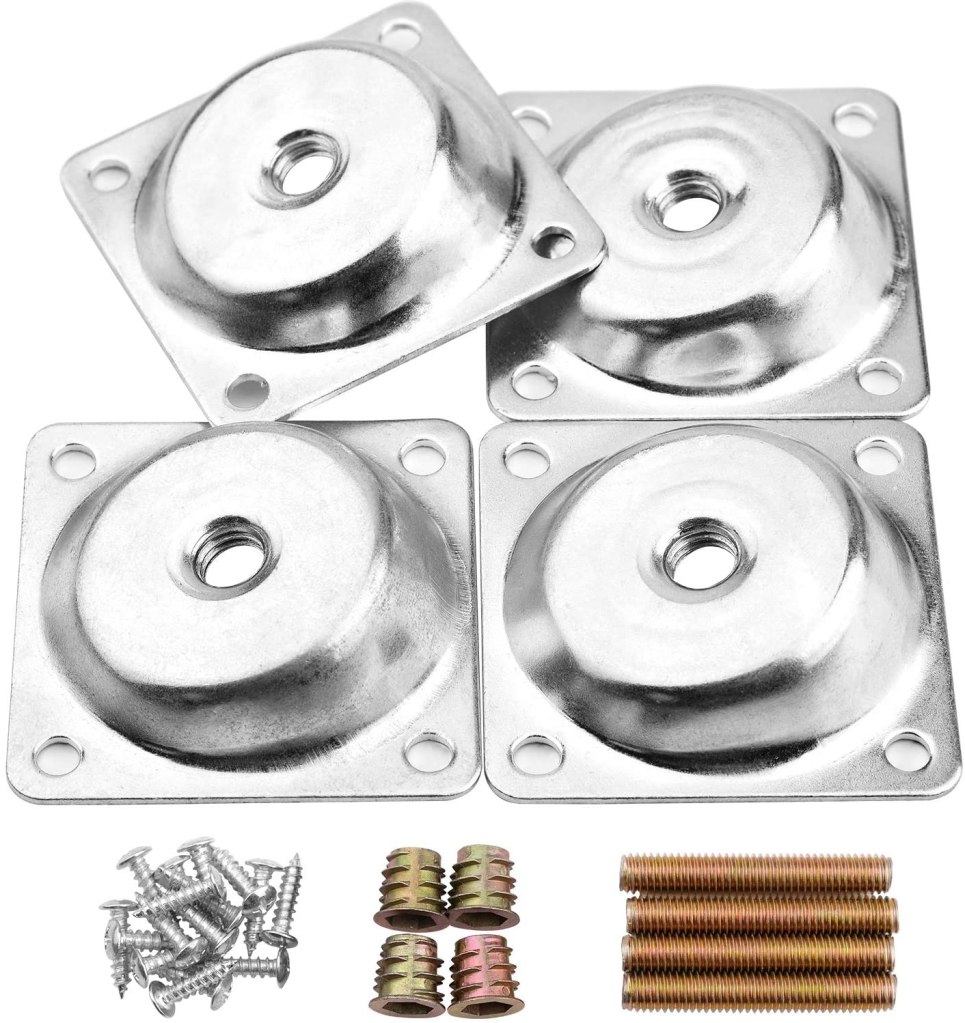
One main difference between modern mounting plates and the ones used on the Imperial are that the plates have screw holes located in different locations. This can be seen as a benefit because it allows for new holes to be tapped to reduce the chances of stripping the holes in the wood table.