If you are looking on how to buy Mathmos lamps in the USA check out that guide here. https://lava-library.com/buying-mathmos-in-the-usa/
Not every country uses the same voltage or lamp socket types. You don’t want to get caught off guard when importing lamps from other countries without knowing some basic ways to make it work in the USA. There are many scenarios that you may come across, but this article will cover the most common conversions. You can go two routes. The first is to use plug adapters that change the voltage from 120V to 220V and also adapts the plug type from the UK type G plug or the European type C plug to the US type A plug. Then you can continue to use the foreign bulbs and sockets in your lamp. The second option is to replace the plug and the socket on the lamp which will allow you to use your imported lava lamp like you would a locally sourced lava lamp. The decision is yours and comes down to what is more convenient for you. Both have pros and cons which will be listed below to help you make a decision. The key to remember is there is no right method, only the method that works for you. Most people will pick the Adapter / No Modification Method though.
Adapter / No Modification Method
Pros
- Easier to configure
- Lamp stays in original condition
- No risk of damage from modifications
Cons
- More expensive to configure
- Bulbs more expensive to source
- Bulbs more difficult to source
Electrical Replacement
Pros
- Cheaper to configure
- Easiest to use after conversion
- Bulbs cheaper to source
- Bulbs easier to source
Cons
- Harder to configure
- The lamp will no longer be original
- Risk of damaging the lamp during conversion
- Not every bulb has a 100% equivalent wattage
Adapter / No modifications method
First you will need to adapt the plug. Depending on the lamp you have a couple of options. If you are able to use a 120V bulb that fits the socket and has an equivalent wattage you only need an adapter. If you cannot use a 120V bulb you will need a step up transformer. As of writing this any Astro using a GU10 socket and any lamp E14 bulb has 120v equivalent bulbs available.

| Lamp | 240v EU Socket | 120v w/ EU Socket | Universal Socket | 120v w/ US Socket |
| Astro (Current) | 240v GU10 35W Halogen Reflector | 120v GU10 35W Halogen Reflector | 120v A15 40W Incandescent or 120v R16 40W Incandescent Reflector | |
| Astro (Old) | 240V E14 SES 35W Incandescent Reflector | 120v E14 40W Incandescent Reflector | 120v E17 40W Incandescent | |
| Astro (Original) | 240V SBC 40W Incandescent | 120v A15 40W Incandescent or 120v R16 40W Incandescent Reflector | ||
| Astrobaby (Current) | 240V GU10 28W Halogen Reflector | 120v E17 30W Incandescent Reflector | ||
| Astrobaby (Old) | 240V E14 30W Incandescent Reflector | 120v E17 30W Incandescent Reflector | ||
| Telstar (Current) | 240V GU10 28W Halogen Reflector | 120v E17 30W Incandescent Reflector | ||
| Telstar (Old) | 240V E14 30W Incandescent Reflector | 120v E17 30W Incandescent Reflector | ||
| Jet | 240V E14 30W Incandescent Reflector | 120v E17 30W Incandescent Reflector | ||
| Fluidium | 240V E14 SES 40W Reflector Incandescent Reflector | 120v E14 40W Incandescent Reflector | 120v E17 40W Incandescent Reflector |
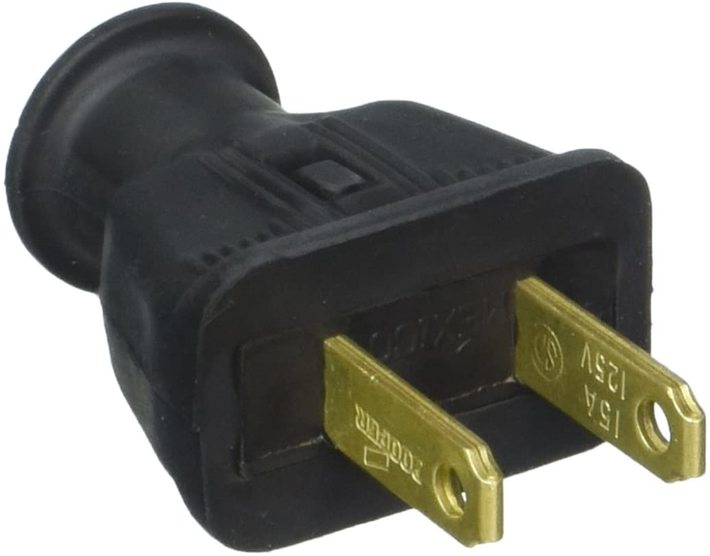
If you just need an adapter you will want a type G/C to a type A/B adapter.
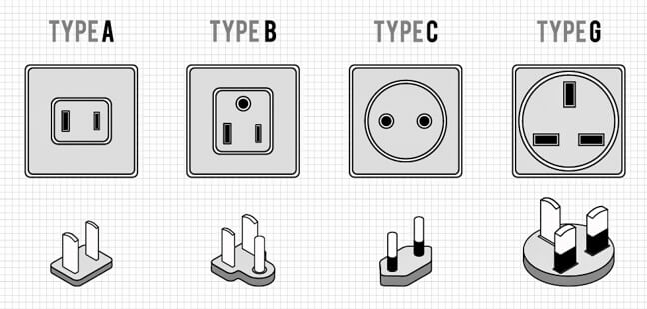
A type G to type B adapter looks like this and can be found fairly cheap.

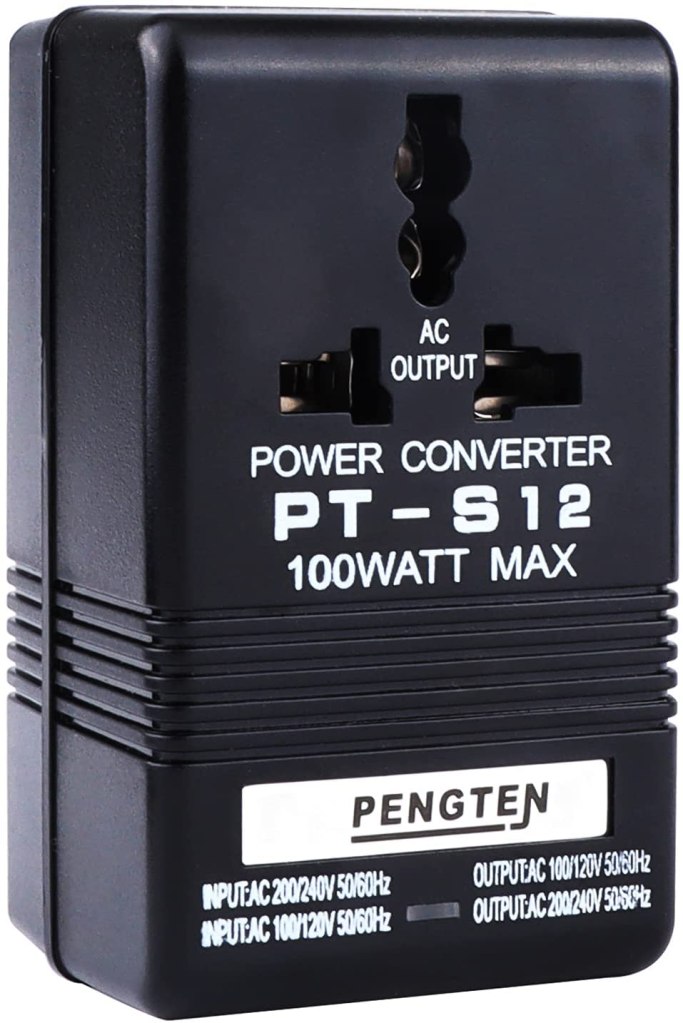
If you do not have a 120v compatible bulb you will need to use a step up transformer. These convert your voltage from 120v to 220v. Note that there is a difference in voltage. The bulbs may say 240V or 220v. Both are fine to use interchangeably.
When buying a step up transformer you need to know how many lamps you will run from it. If you are adapting a single lamp a smaller step up transformer. A single lamp will typically use about 40W so these little 100W transformers work great. Plug your lamp directly into it and off you go. These can be use to turn 120V to 240V or vice-versa so make sure to set the switch on the bottom to AC-117V. If you have it on the other setting it will get so hot that it will melt. They will also melt if used at their listed max wattage. It seems the manufacturer is slightly misleading and these can only run for short periods at their max output so they recommend for extended use to only run these at 50% of their max wattage. That means 1 of these per lamp.
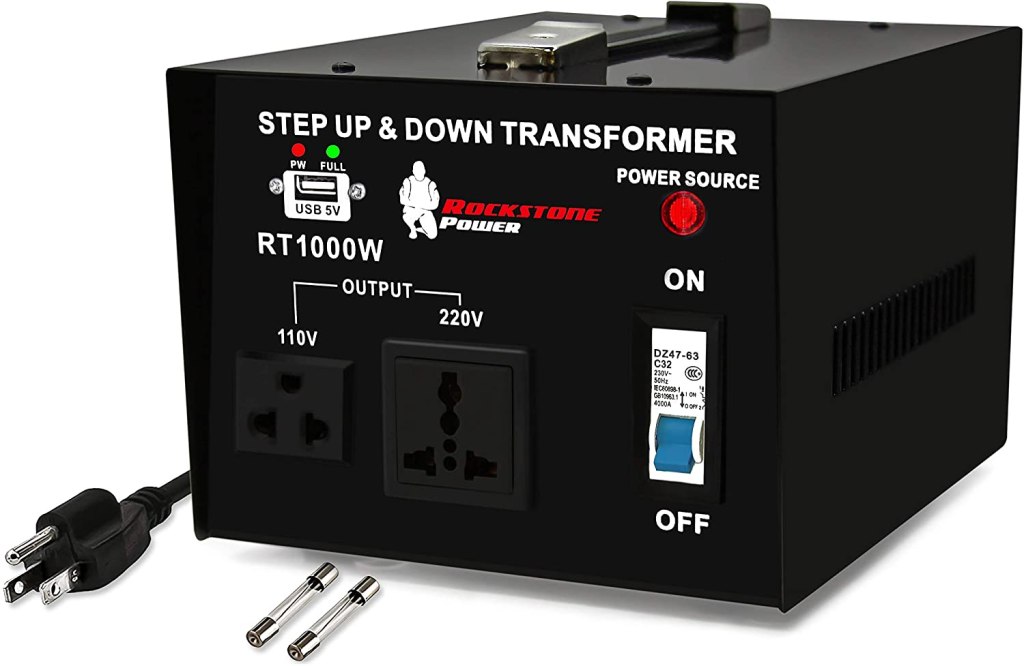
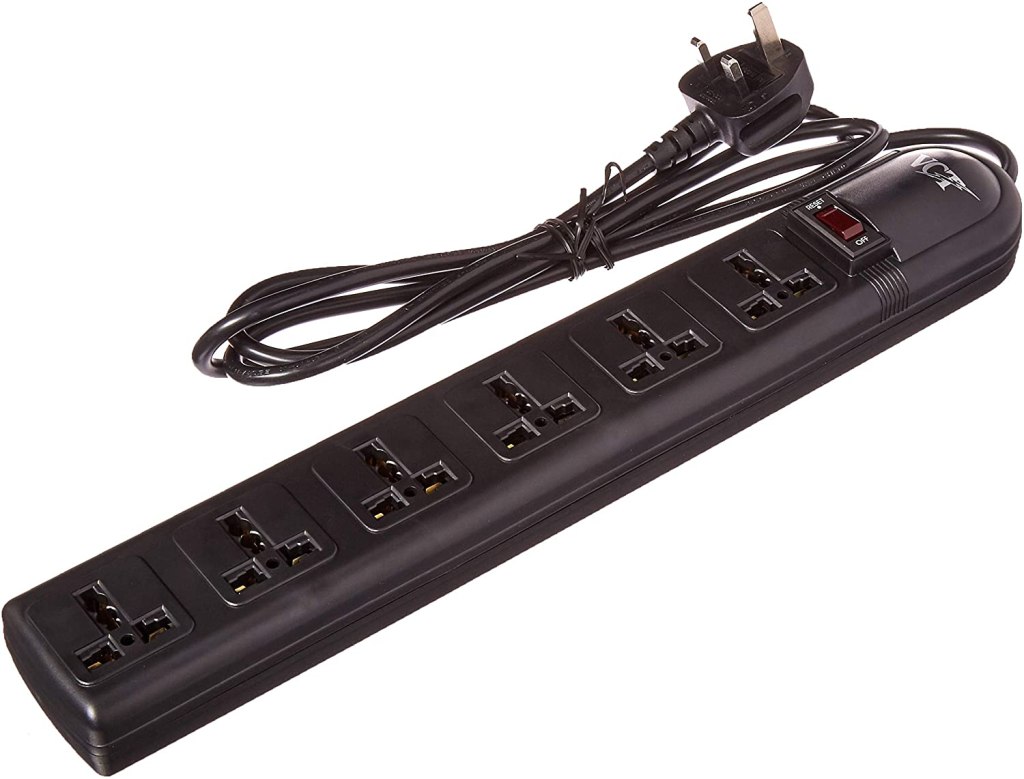
If you want to power multiple lamps you can get a much larger one. These go up to 5000W, but a 1000W one will be fine. That will allow for 25 lamps with 40W bulbs to run. You will also want to get some power strips to go with it.
Electrical Replacement Method
If you decide to replace the electrical parts of your lamp you need to understand some electrical safety concepts. If you cannot replace an outlet or switch in your house you probably shouldn’t be changing the electrical components in a lava lamp. If you do not know what you are doing you can shock yourself or cause a short in the lamp which has the potential to cause a fire or damage your lamp so proceed with caution.
Plug, Cord, and Switch Replacement
You can either cut off the original plug and use the cord, or replace the cord and the plug. There is nothing special about the cord that prevents it from being used with either 120v or 240v. If you want to replace the cord completely you will also need a switch. Again there is nothing special about the original switch and it can be used. If you need to replace everything you can buy all of the parts individually to make your own cord with plug and switch.
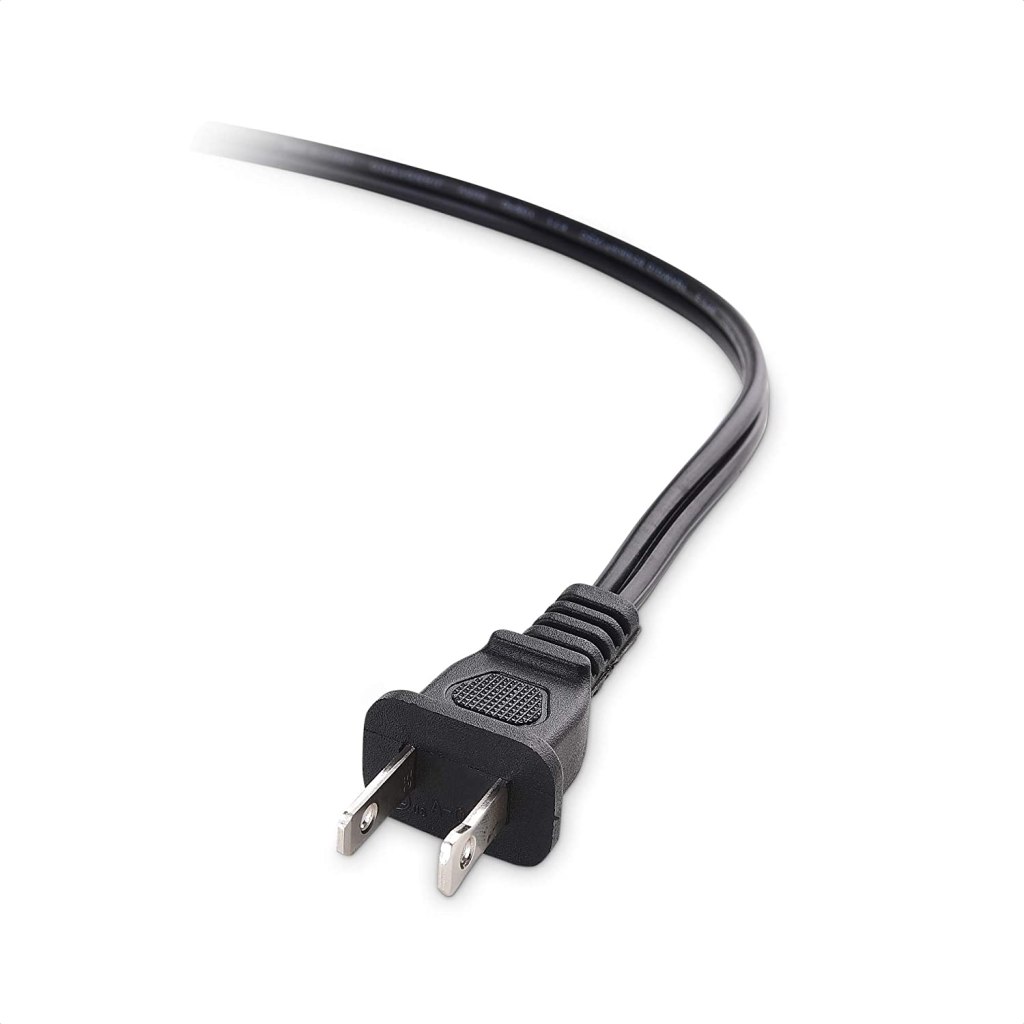
Cable Matters Polarized 18AWG 2 Prong Replacement Cord Lamp Wire
Both switch types used by Mathmos and Lava Lite are available online.
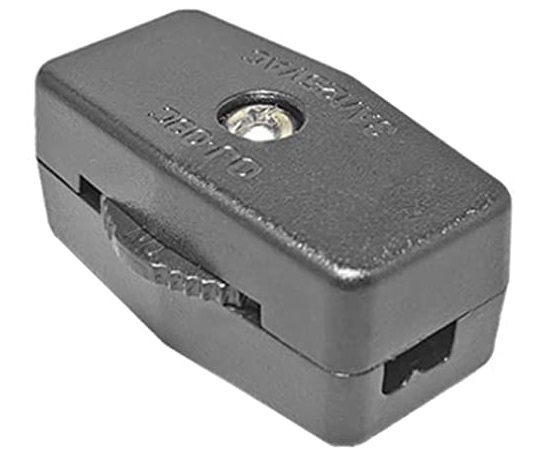
Inline Cord Switch, 125V 3A Inline Switch, Thumbwheel Actuator Switches, Inline Lamp Cord Light Switch, Lamp Switch Replacement

Bulb Socket Replacement
Typically when replacing the socket you will want to use an E26 socket for Astro’s or an E17 socket for just about everything else. E26 sockets can come corded or with screws. The ones with screws are easier to work with. E17 sockets will almost always come with wires already attached. You can either splice the cord together with these wires or cut them off and solder your existing cord to the socket. You will also want to make sure your socket has a mount for a 3/8th threaded rod which you will use to mount the socket to the base.


You can get a kit with 3/8th threaded rods with waster and nuts. Having various sizes allows you to get a proper height on the socket. If you need to use these you will want to put a few nuts on the rod and then cut it with a metal saw and remove the nuts from the end you made the cut with to straighten out the threads and remove any burrs that would make it hard to put a nut on the rod later. Depending on the lamp you will need to tackle the socket mounting slightly differently.

Astro / Astrobaby
Astro’s and Astrobaby’s can be modified fairly easily since the bottom plate comes out. The mounting for other lamps like Jet’s and Fluidium’s follow a similar process, but it is harder to photograph them in a way that is easily explainable so just assume you are going to build all of the mounts in the same order.
Socket
Nut
Washer
Washer
Nut


Fluidium
The bottom of the fluidium has a removable socket holder. Simply remove this and take out the old socket. Using your kit assemble the socket and run the cord through the rod. You may need to use some glue to hold it in place. Note with the kit used on this one the sides of the washer had to be trimmed to fit the locking plastic tabs.
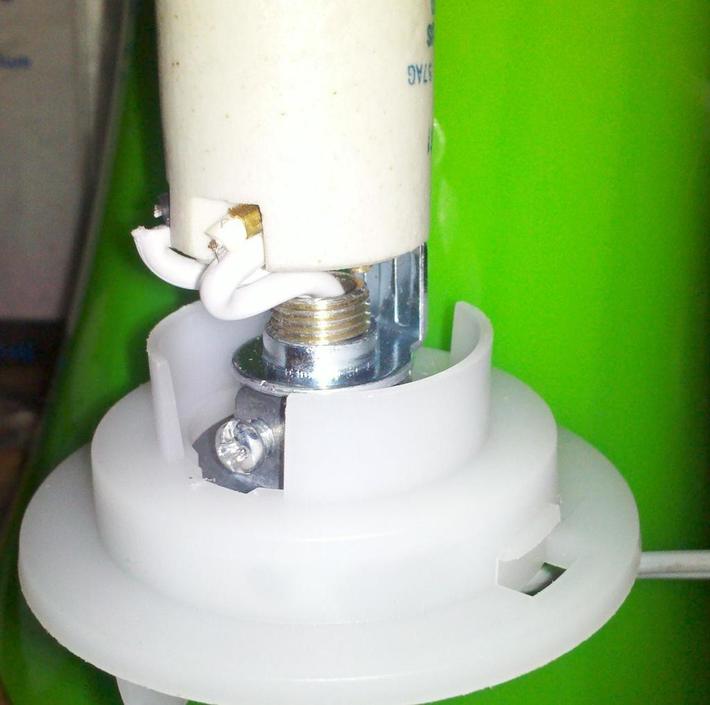
Jet
Jets come in 2 different generations. Older metal bases and newer all plastic bases. The all plastic bases are the easiest to convert. Using your kit assemble the threaded rod with 2 nuts and 2 washes to clamp the threaded rod to the base. You can find larger washers to perfectly clamp into the plastic clips and really add to the stability of the socket.
Bottom view.
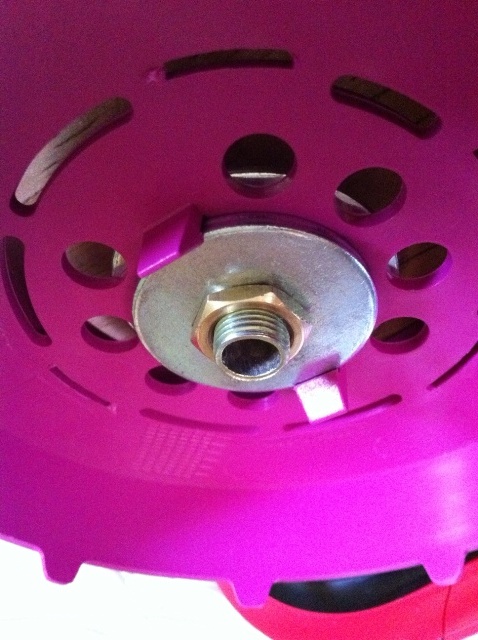
Run your wires through the threaded rod then fix your wires to your intermediate base and screw it in place. You may want to add more nuts to your threaded rod to prevent the socket from spinning when you replace the light bulbs.
There is some wiggle room here to adjust how close the bulb will sit to the base of the Jet globe – just adjust where everything sits on the nipple (seriously, why are they called nipples?!?!) a millimeter or two up or down.
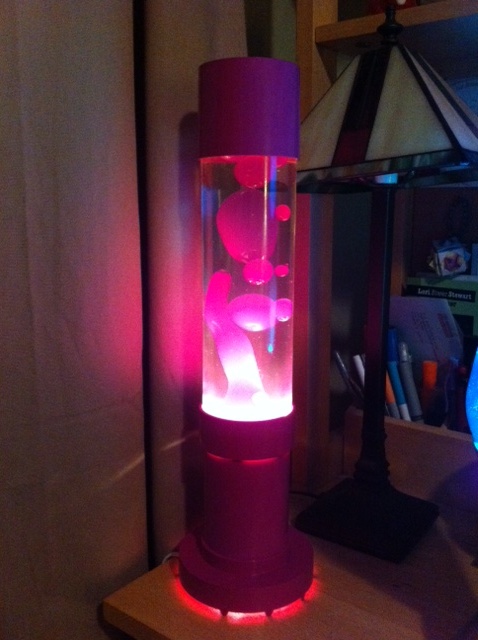
Make sure everything is secure and tight and then snap the top part of the base back on and you’re good to go!
You can use a 25 Watt reflector or a 40 watt round bulb. Make sure to watch the flow to determine which is best for your lamp.
Older metal Jets are glued together.
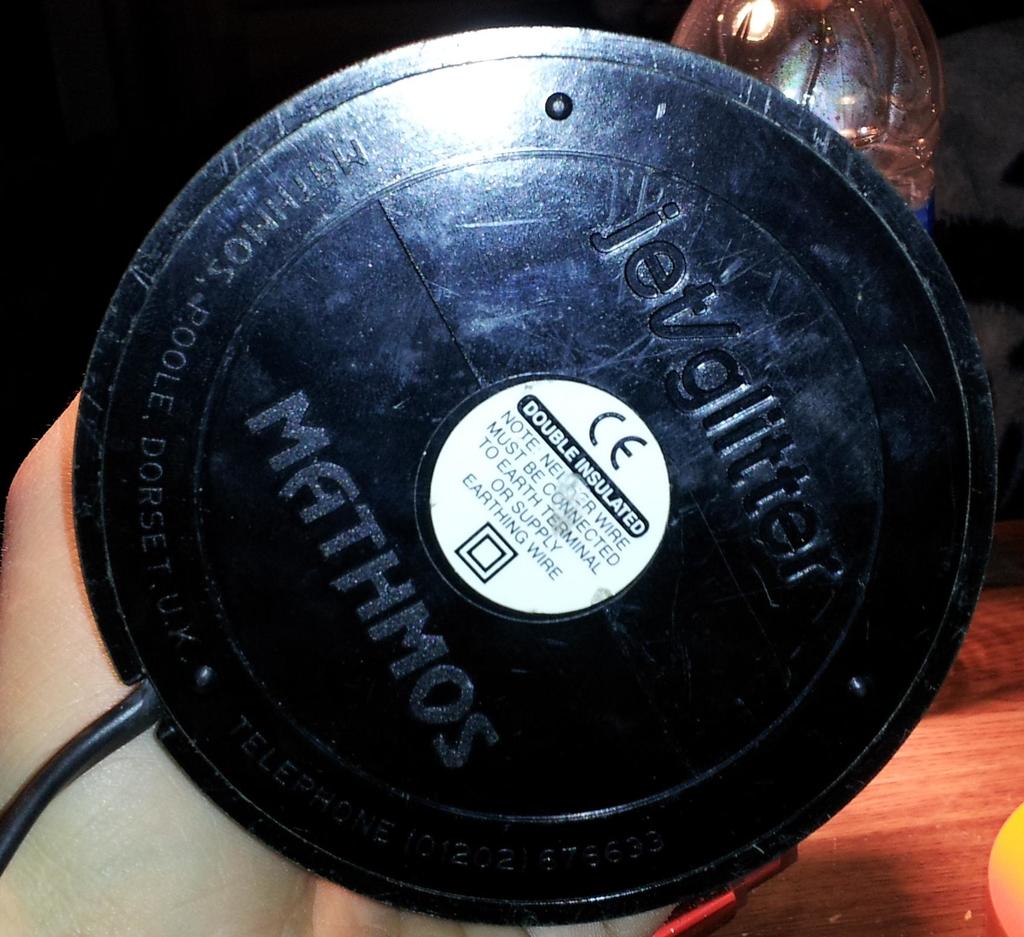
The solution to this problem is to heat up the bottom and start prying from the hole the cord comes out of. Slowly work something flat like a flat box knives around the bottom stopping. Eventually the bottom will pop off.
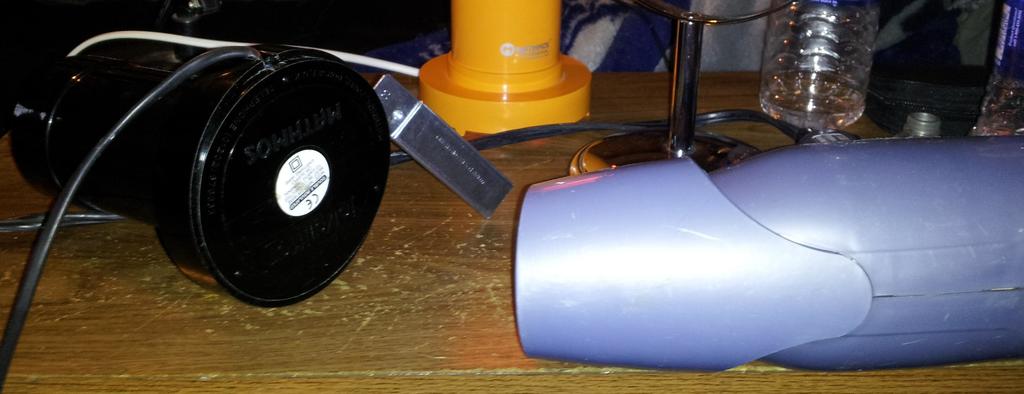
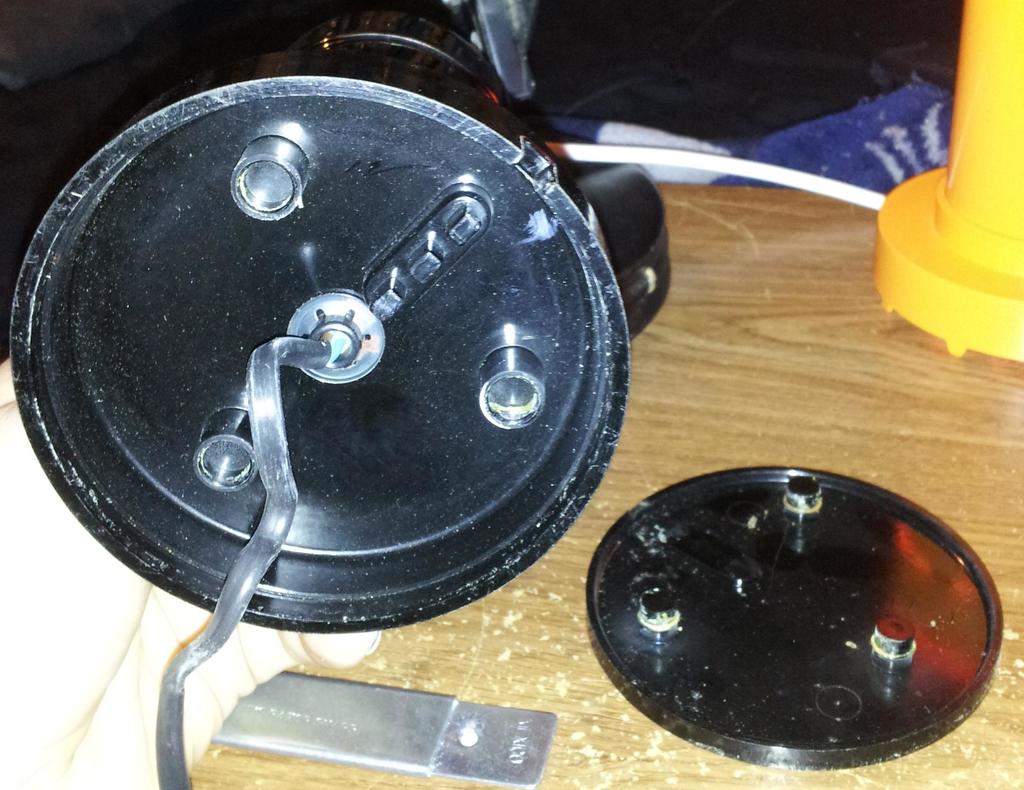
Take off the metal ring. This will not be reused. On the inside of the base there is a socket that is also glued down. Use your heat to weaken the glue. About 10 minutes later the glue should be pliable enough to pull off the outlet with a pair of plyers.
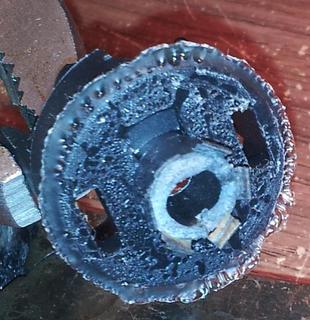
While the glue was still soft put a washer on a long nipple and push it down in the glue with a screw driver. Assemble your socket like a standard plastic jet and then reattach the base cover.
